 |
|||||||||||||||||||||||||
 |
|||||||||||||||||||||||||
|
|
|||||||||||||||||||||||||
Self Moulded Trays.Please read all instructions first, before commencing the procedure. |
||||||||||
|
|
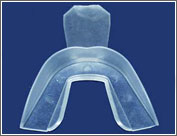
Remove the self mouldable trays from the packaging and identify which trays will be used for the upper and the lower.
(Upper and lower trays are identical.) Insert each tray into your mouth individually to ensure correct fit. |
 |
||||||||
|
|
Beginning with the tray identified for the upper teeth, hold the tab at the front of the tray and insert the tray into a cup of boiling water for at least 4 seconds. | |||||||||
|
|
Shake off excess water and allow to cool slightly to prevent burning your mouth. Then insert the upper tray into the mouth, around the upper teeth. | |||||||||
|
|
Position the tab of the tray into the centre of the mouth. Close mouth and suck air out of tray for 10 seconds. | |||||||||
|
|
Run tongue along the back of the tray to ensure a good mould at the back of the teeth. | |||||||||
|
|
Leave the tray inserted into the mouth, with lips closed for 30 seconds. | |||||||||
|
|
If a mistake is made, reheat the trays and repeat steps 2 - 6. | |||||||||
|
|
Remove tray from mouth and cut off tab. | |||||||||
|
|
(Optional) Excess material can be removed from the tray by cutting the tray with a pair of scissors along the gum line. Do not cut too close to the top of the teeth (Leave 1 to 2 mm of the tray overlapping the gum). This allows the self mouldable whitening tray to be more comfortable while wearing | 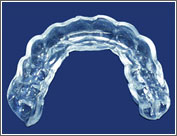 |
||||||||
|
|
Repeat steps 2-9 for the lower tray. | 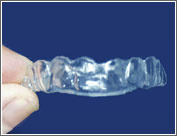 |
||||||||
| Note: When trays are not in use, place them in the case provided. Keep trays in a cool place to prevent melting. | ||||||||||
Guarantee | Disclaimer | Privacy Policy | Copyright 2003 ToothWhitening.com.au | ||||||||||